A few days ago we were driving through Ukiah, CA, and wanted to check out the local pawn shop. They had a digital lock box which was missing it’s keys and had an unknown code. I shook it and, it didn’t seem to have anything heavy inside, but it did sound like there were keys inside. I haggled with the salesman and bought it for $12 plus tax.
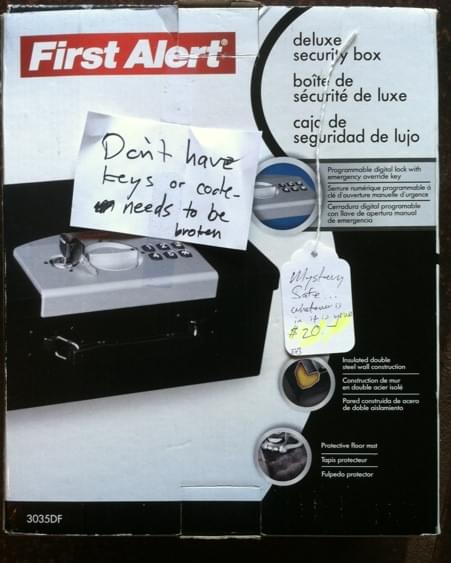
First act of business was to get the lock picked. A friend of mine was kind enough to show me the basics, and this lock was very easy to open. It was a little too easy in my opinion, but what can you do? To no one’s surprise, the box contained two copies of the keys fitting the lock. Once inside, the electronic code can be reset by pressing a hidden button, and typing in a new code; so I did. I now have a new lock box, with keys, and a new electronic code, but why stop there?
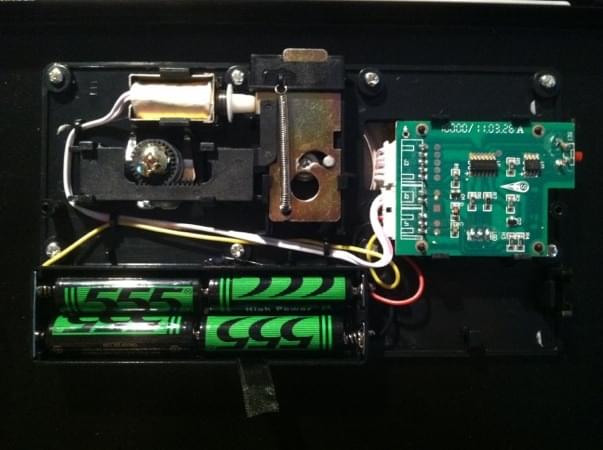
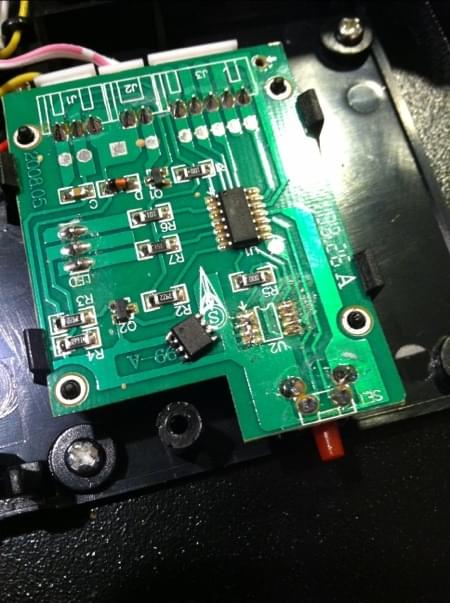
Like so many projects before this, I feel compelled to dive deeper into the inner workings of what I’m working on. Under the plastic cover inside, the solenoid, lock mechanics, and the single sided PCB are easy to interpret. On the PCB I found a EM78P153 8-bit microprocessor, and a 24LC02 Serial EEPROM. I was most interested in dumping the EEPROM. I attached probes to VSS, VCC, SCL, SDA, and ran them to my Bus Pirate. I had trouble reading the EEPROM while it was in place, so I removed it, then re-attached my probes, and hooked it to a JDM programmer I have. Using ICProg, I read the serial data and was a little surprised how simple the data being saved was.
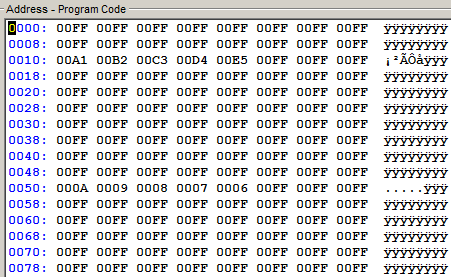
Quite simply, five bytes are written to the EEPROM, with a very basic error correction. Each key is represented as, A1, B2, C3, D4, E5, and written to bytes 0010h - 0014h, in whatever order you programmed your code. There are five signature bytes, which remain constant no matter the code. I tried writing a new safe code by changing the data on the EEPROM, which worked exactly as expected once reassembled.
This tear down was done merely to quench my own curiosity.