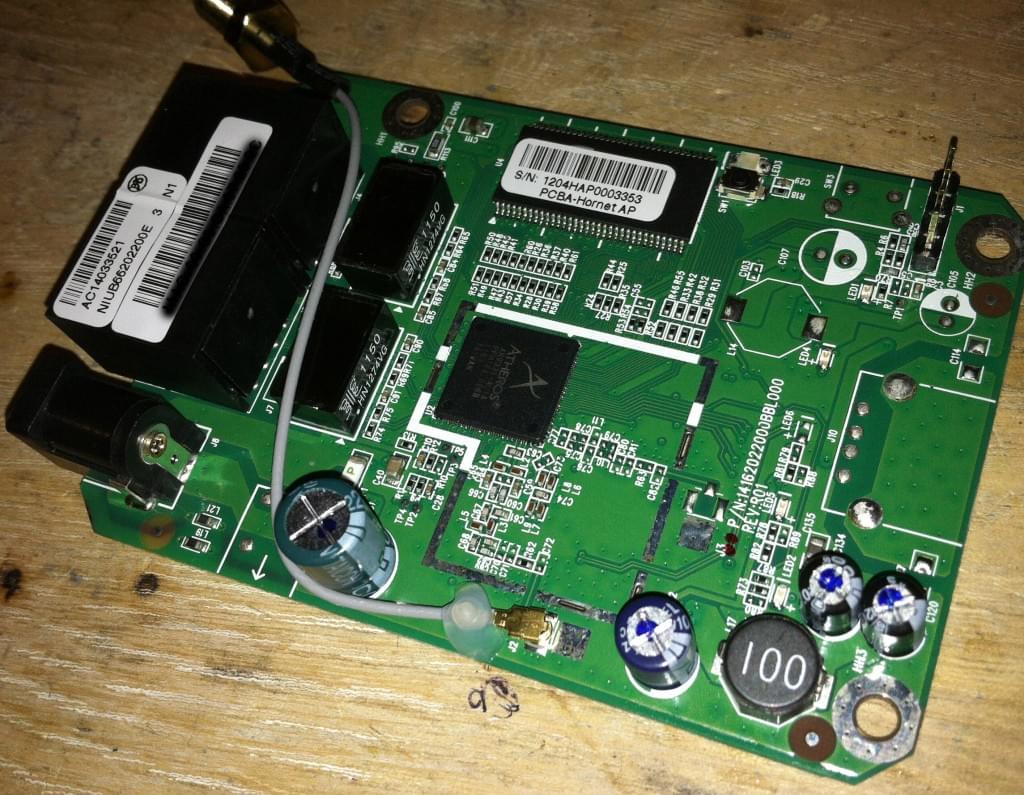
While checking out all the awesome things you can do with a Fon Wifi Pineapple, I thought it would be fun to grab a newer router, capable of running Pineapple Mark-IV. I found what I thought was a great deal on eBay, and upon closer inspection, I had bought an Alfa AP121, which lacks the USB it’s sister model the AP121U / Hornet-UB has. I could have resold it, but my solution was to reverse engineer it, and try to add the USB myself.
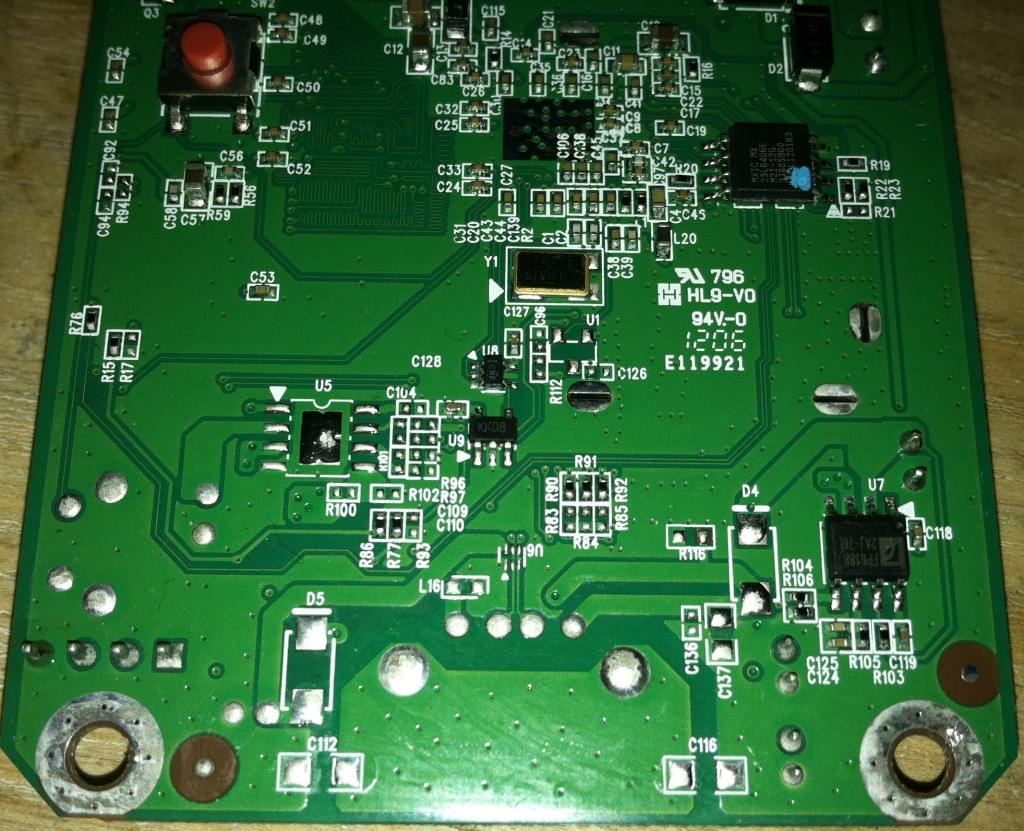
After searching high and low for some proof that this had been done and coming up with nothing, I changed my focus to finding high resolution photos of the Hornet-UB board which the AP121U contains. I determined that the boards are in fact identical, but the AP121 lacks a good number of components which support it’s USB functionality. I probed around on the board, and found that the unpopulated pins on the board where the USB header should go was not connected to anything. At this point I soldered in a matching USB header I had laying around, and began to figure out what needs to be connected. Since I found no data sheets on the Hornet-UB, I had to make some educated guesses.
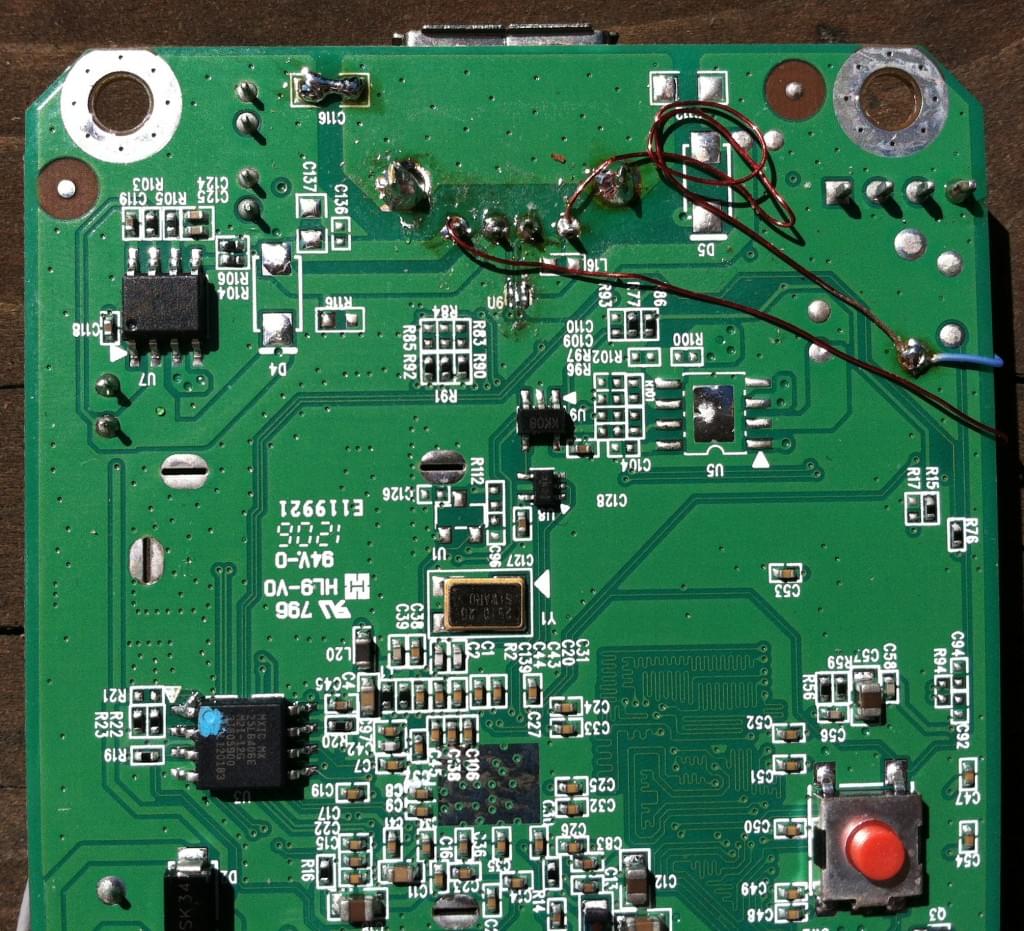
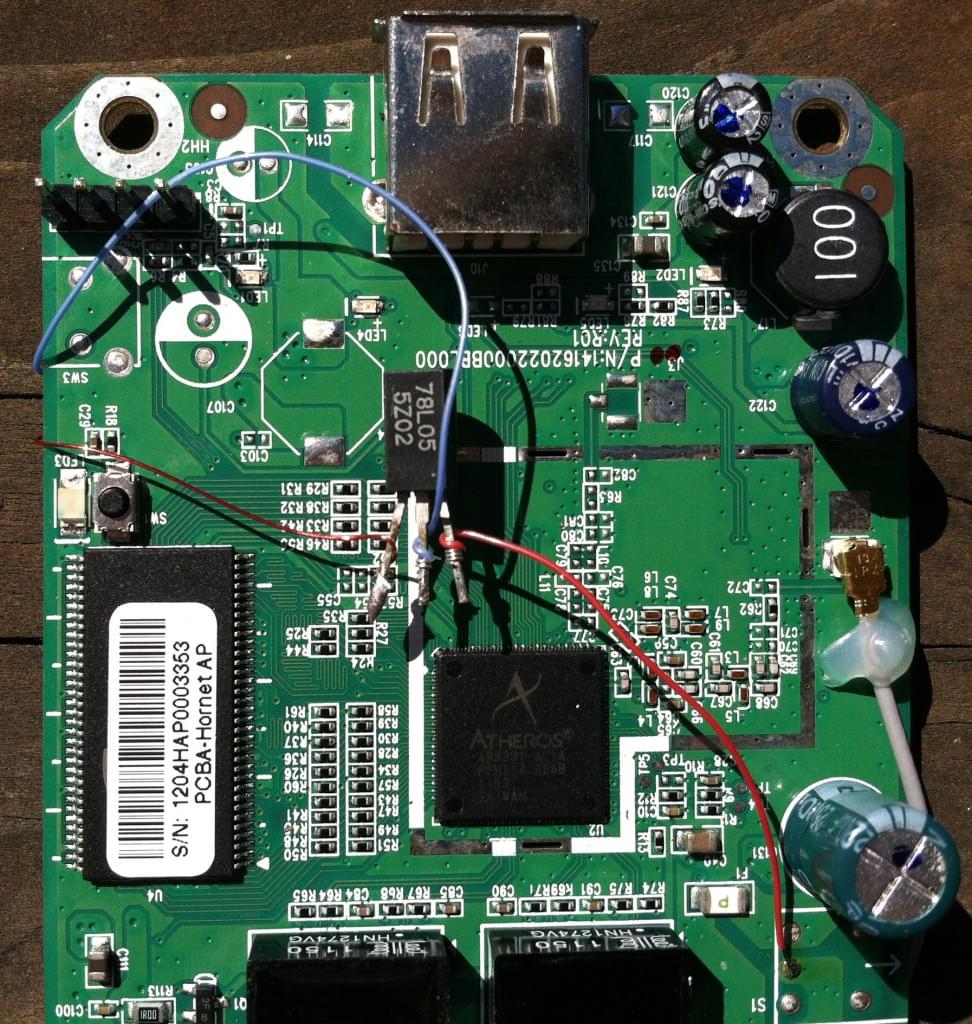
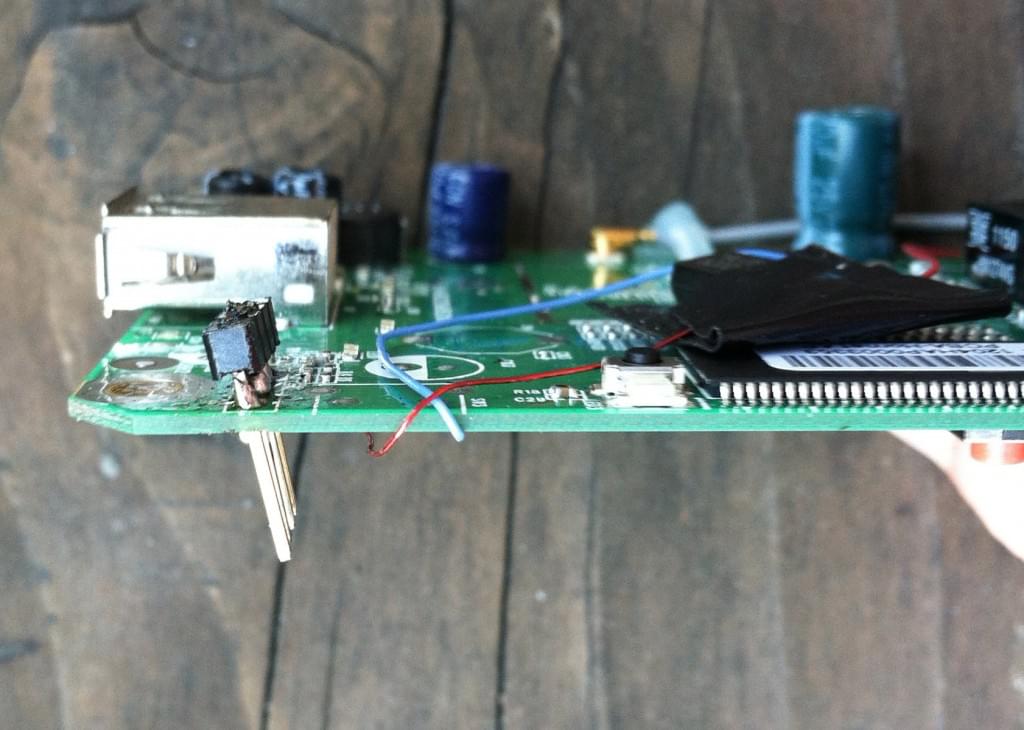
First, USB needs +5v DC. Ground and shileld were dead simple, and I don’t need to explain much here. I created a solder bridge across where C116 was, which was probably just a ceramic capacitor for filtering ground noise. For the ground pin, I just soldered it to an unused pad to the left of the port, though I could have just soldered it to the USB shield. As for +5, I probed around the board but didn’t find any that I felt comfortable leeching power from. I opted to instead install a 78L05 voltage regulator, and draw directly from the 12v board mains. The 78L05 requires input voltage and a shared ground, the blue wire running to the opposite side of the board connects to the same ground that the USB ground uses.
Extremely small solder points! It took me a number of tries before I got it.
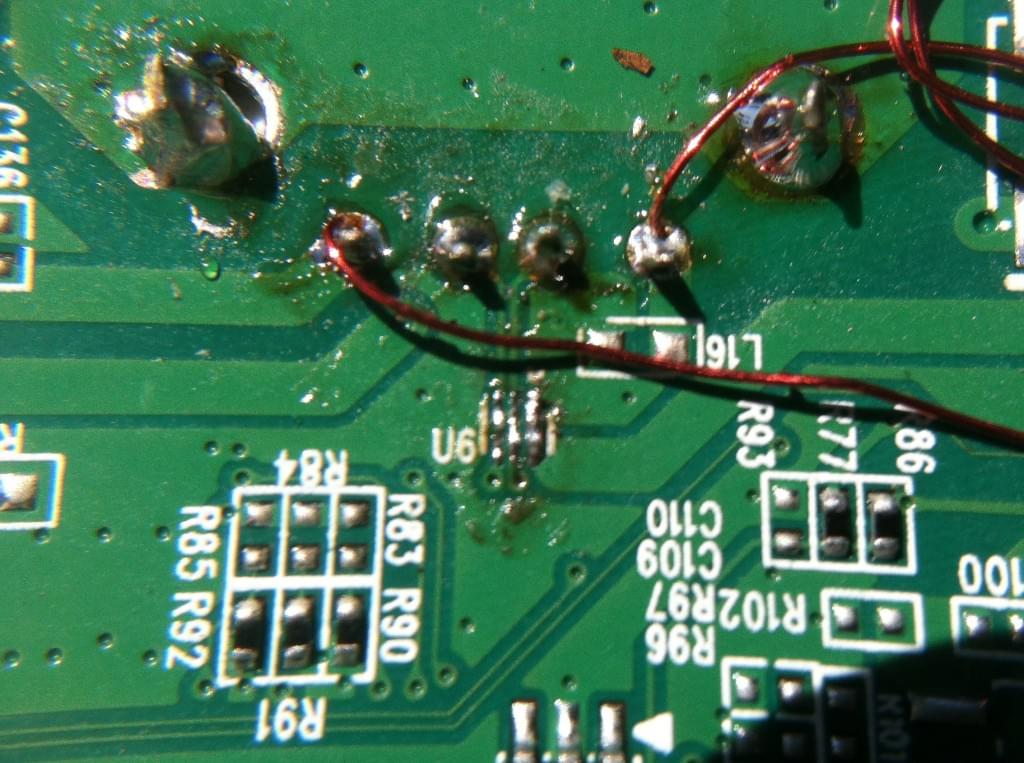
Now that power works, we need the data lines (D+ / D-). Although there are a few places these data lines run to, I found that the only important place they run is through a single unknown component, and then directly into the Atheros chipset. Just a guess, bug everything else seems to support the USB LED, or provided some sort of noise filtration. That component could be anything, but rather than spend the next few weeks trying to identify an unknown SMD component, I decided to just bypass it. I don’t know if the method I chose would be the wise route, due to how small the traces were. I’m not exaggerating when I say that these are some of the smallest traces I’ve ever soldered. To even get the photo of the solder job, I had to attach a zoom lens to my phone. I can’t recall why the third trace was necessary, but I don’t think I would have done it unless it wasn’t.
After you’ve been though the soldering gauntlet, you should be able to power up your router like normal. I would suggest letting it completely start up, without anything plugged in first, and if you have it, plug in your serial cables. If you don’t have a serial console, log in using SSH and run “dmesg” over and over and watch for new lines. Once all started, plug in a USB flash drive, and hopefully you should see some kernel messages messages pop up about your USB card. If all is well, take your dremel and cut a hole for that new USB port you just added. Congratulations, you’ve successfully upgraded your AP121 to a AP121U!
After all USB trickery, I also decided to flip the TTL serial port to stick out the bottom of the device at an angle, so I could cut a small hole in the bottom, and access the serial connection while the device is re-assembled. From the bottom, left to right, the pins are GND, RX, TX, 5V.
I should note that I did skip over a lot of components which may be required for optimal, safe, long term use of USB. I have not noticed any ill effects, but I am also not plugging in any power hungry devices. I would suggest sticking to USB sticks, or MAYBE a 3G USB, but I wouldn’t bet by life on it working as well as a stock AP121U would.
